|
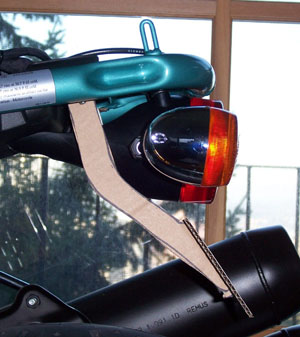
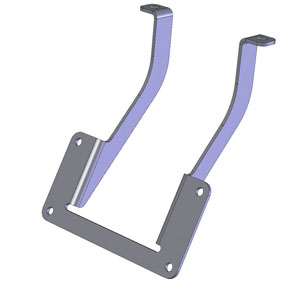
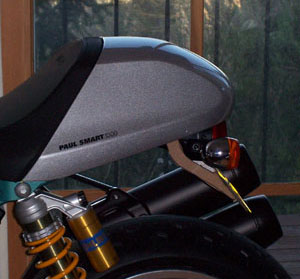
01/23/06 Upon perusing the Oregon Motor Vehicle Code I confirmed that the rear plate needs to be displayed 'in plain view'. Chances are, sticking it to the battery is not going to qualify as such.... So, whilst once again staring at the bike, I visualized a license plate bracket that would mount to the stock locations, again using stock hardware. A few measurements, some time with SolidWorks and two cardboard prototypes later, I have a design:
It's out for quotes now to have the bracket laser cut and CNC bent. Depending on how that comes back I might make a few extra and offer them for sale. So if you have a Sport Classic and are interested in possibly getting one, let me know via e-mail. The current plan is to make the brackets out of mild steel, powdercoated black. The final design has a bit more tire clearance than the prototype shows. I'll definitely install and test mine, then post pictures before taking any actual orders. In the meantime it would be nice to get some idea of what interest might be out there. 02/15/06 (updated 02/28) Got the brackets. Turned out pretty cool... (see here for instructions).
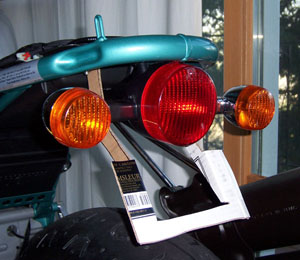
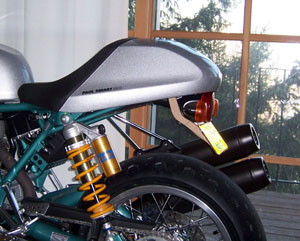
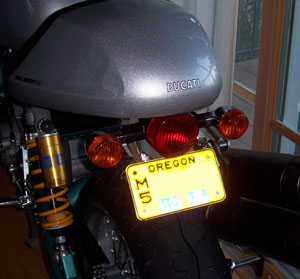
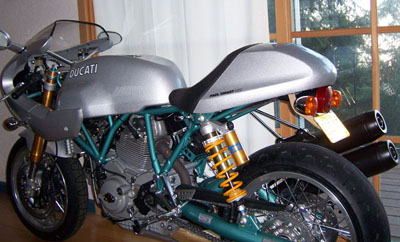
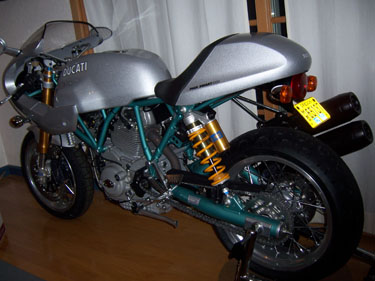
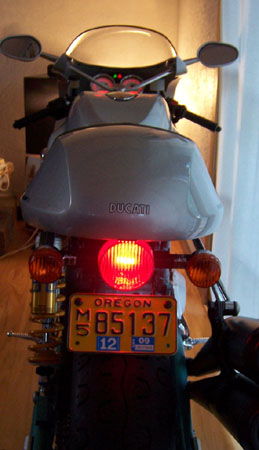
When it's on the bike you can't really see the bracket, the license plate just seems to float below the taillight. I checked the tire clearance with me bouncing up and down on the seat and there seems to be plenty. I don't see it rubbing in any reasonable situation short of doing motocross jumps (and if that were on the agenda the bracket and plate can be removed in less than a minute :). Overall the mods clean up the look of the bike considerably and save 2 lbs to boot. Since the brackets are laser cut, CNC bent and powdercoated, it made sense to make more than one. So I now have a few for sale at $115 each. If you want one, let me know. A note on tire clearance, since someone asked - I had adjusted the spring preload on my bike for about 1-1/8" static sag at the rear (about 7/8" travel on the shock) and with that the rear wheel has 2-1/8" clearance to the bracket with me on the bike. As-delivered the bike had nearly 2" of static sag with me on it (180 lbs) which would only leave 1-1/4" of clearance. This I'd consider a bit tight. So if you get one of these brackets I'd highly recommend setting the rear preload to about 1" static sag, which is the generally recommended number for sportbikes. If additional clearance is wanted without increasing preload, the shock itself is adjustable for length so that's another option. Interestingly, the front is set up for only 1/4" static sag (I checked the other two Ducs and they're even less, at about 1/8") while some sources, like this Sport Rider article, seem to recommend around an inch at the front as well. Hmm... Another question came up about lighting for the plate at night. The stock plate light is removed, but the way the plate is positioned it ends up being illuminated by the taillight.
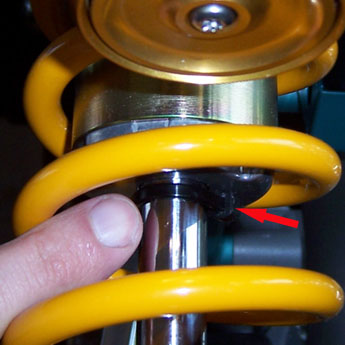
Not as bright as a dedicated light would be but ought to be sufficient for most purposes. Also keep in mind also that the plate is reflective so the headlights of any car behind you will light it up pretty well. Whether that's enough is a personal call. I checked the Oregon DMV code and there is no state requirement to have the plate lit - just that it be mounted in plain view (other states may be different but I'd be surprised if it ever became an issue). Works for me. UPDATE: Here's a quick and dirty way of setting the rear preload: 1. Put a zip tie around the shaft of the rear shock. It should be snug but not too tight, i.e. easily movable without being loose. Move it all the way up against the shock body.
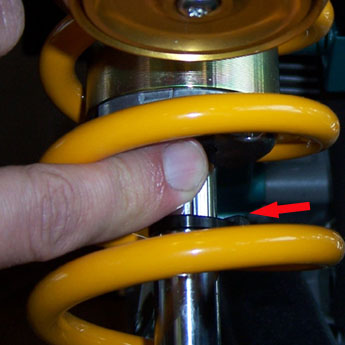
2. Sit on the bike. Sit down slowly and don't bounce but put all your weight on the seat, lift both feet off the ground for a split second. It may be easier if someone is keeping the bike upright from the front but not strictly necessary. 3. Get off the bike and check to see how far down the zip tie has moved. You're looking for about 3/4" or roughly one finger's width.
If the zip tie moves down more than that, crank in more preload (add approximately the difference between the actual and desired travel, which may be a good inch initially), then move the tie all the way up and repeat. Note that this procedure is very approximate but it should get you in the ballpark. It may be useful to keep the zip tie on as you ride so that you can see the actual shock travel in use. If you're considering doing these mods to your Ducati, check out the separate page with detailed instructions for the fender removal and bracket install. Have fun! 04/01/06 One of the PS1000 owners who bought my bracket has come up with an alternative way of mounting it that provides more tire clearance and makes the bike look less stubby, so I've updated the instructions to include it - many thanks to David Hood for the design and the photos. Today I helped Tracy pick up her new Sport1000 and of course we put a bracket on her bike too. Works well with the shape if I do say so myself. I really like the bike, it's has a very different character than the PS and is quite fun in its own way. If I didn't have so much on my plate already I'd be tempted to get this one as well. As it is, I'll just have to borrow Tracy's every now and then. The mirrors work way better, too. Pretty unique as far as factory setups go.
I'm really looking forward to doing some backroad rides for the break-in of our respective machines. And the trackdays, of course. |