|
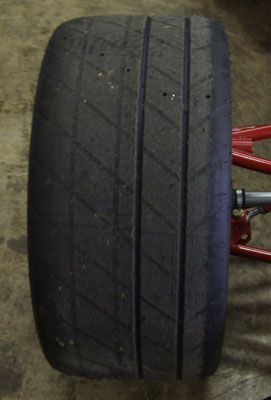
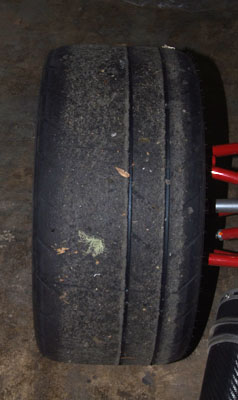
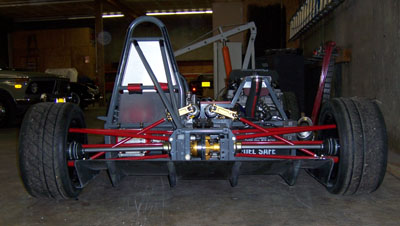
10/11/06 Doing some more work in preparation for the big track. First, just cleaning up the brake dust and checking for any undue wear, etc. Interestingly the rear tires got more of a workout than the fronts, despite dead-even weight distribution and AWD. The front tire is on the left, the same-side rear is on the right.
My improvised dust shield helped somewhat but there was still a lot of dust everywhere. So I called up the guys at Wilwood and ordered some different pads. Many thanks to Dave and Mike at Wilwood for providing all the necessary info and taking care of the order. After some discussion on dust / temp range / rotor wear and looking at the supplied friction coefficient curves I decided to try the BP10 compound. These have the most consistent coefficient over the widest temperature range, so if the front and rear brakes heat up differently I won't end up with the bias changing on me. The compound is also very easy on the rotors which is a big consideration for me - replacing the rotors is a big chore on this car. The pads should be arriving later this week.
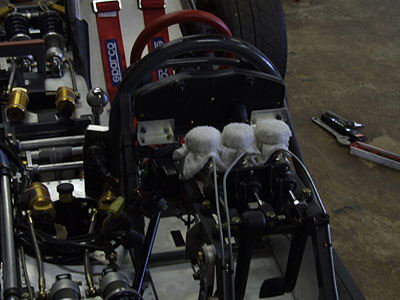
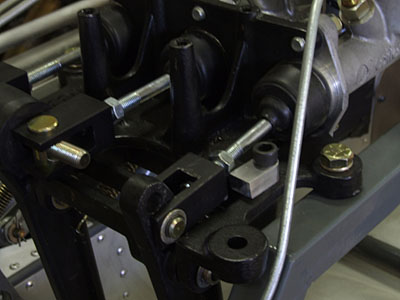
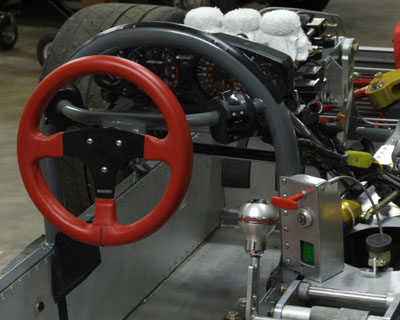
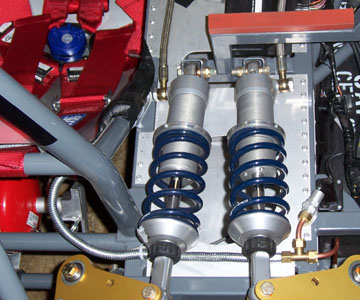
Other items - added the rags on top of the master cylinders to stop them spraying brake fluid (I had this in the Westie also). Made a new, more robust clutch stop. Hopefully this one won't break.
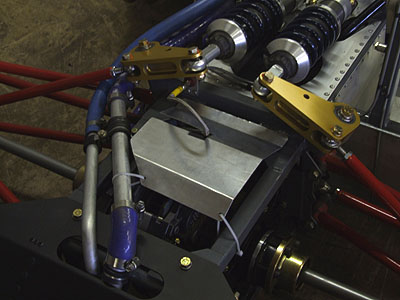
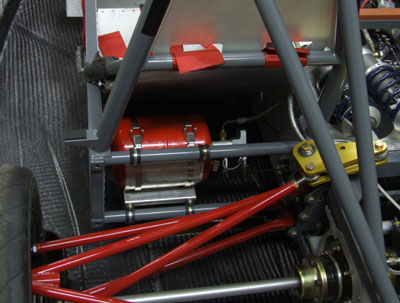
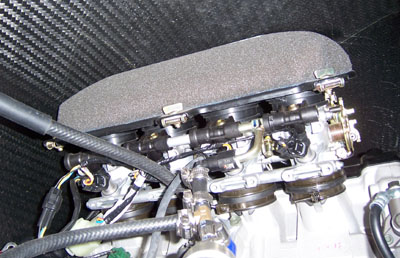
The little catch can on the center diff vent line is working great, not a drop spilled anywhere. If someone has a reversing box that's spitting oil this is the solution. Drill a hole in the top oil plug (the one used to fill the box with oil), press a plastic right-angle fitting into it, then run a hose to a small reservoir mounted higher than the plug. I used a rear brake reservoir from a motorcycle and drilled a small hole in the lid for ventilation. Works like a charm. Next on the list was the installation of the fire system. Much gratitude goes to Larry for donating the brand-new-in-box system to the project. I was originally going to mount it to the back of the seat but wasn't too thrilled about drilling the aluminum panel, or hanging a 10 lb cylinder from it, or having bolt heads dig into my back. In turning things this way and that I suddenly realized that the cylinder bracket is the perfect size to be mounted with rubber clamps to the round frame tubes behind the seat. I test-fit it and lo and behold, it fits like it was designed for this. Rare luck. I'll take it! Now I need to finalize the location of the two nozzles and run the plumbing to them. I'll sleep on it and maybe the solution will just present itself.
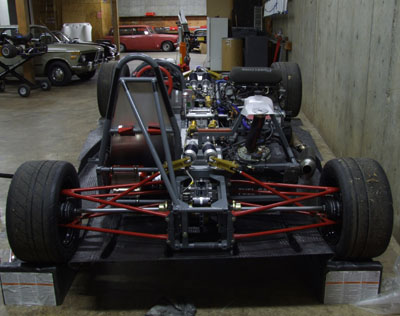
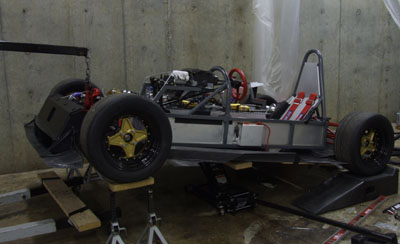
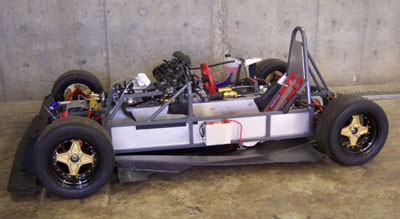
Finally, before calling it a day, I test-fit the floor under the car. It's not attached for the moment, just supported on some blocks of wood and a jack. I'll need to drill the mounting holes, install the rivnuts in the frame and then bolt things up. I'm sure I'll need some additional straps too - will just play it by ear. Quite a learning experience, this. There are definitely things I'll do differently for production.
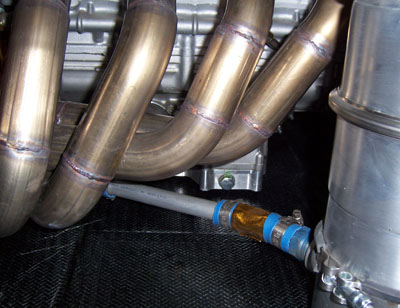
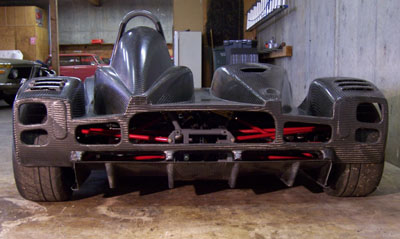
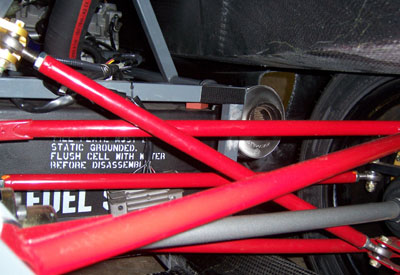
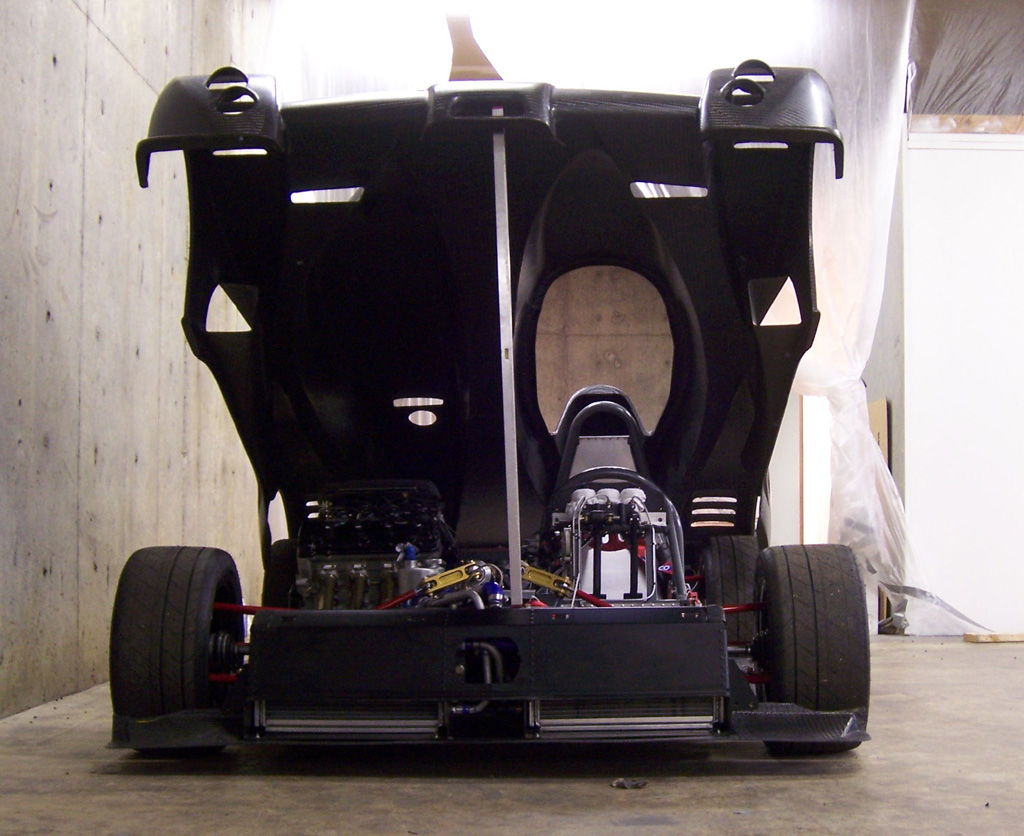
10/12/06 A lot of time spent today but only a short update. First, finished plumbing the fire system. The two nozzles are located on either side of the engine. First, a cone pattern one, points on top of the fuel tank and at all the fuel lines. The second, with three holes forming a horizontal shower pattern, points at the headers and oil lines.
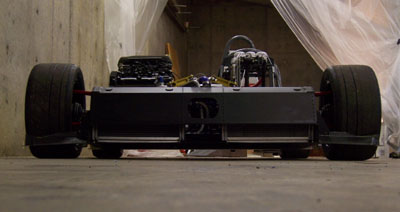
This ought to cover any potential fire sources. Fabricating brackets was a pain but now it's in there. Having routed the lines under the chassis floor I can now get on with the undertray mounting. Laser makes it easier to locate the holes (they still end up being a fraction of an inch off, I'll have to enlarge most of them appropriately tomorrow). There are 20 mounting bolts to spread the loads as evenly as possible. There will also be additional straps holding up the edges of the undertray. After test fitting the floor I was relieved that the engine still has about 1/2" clearance. I was concerned about that since the engine is tilted slightly in its mounts. Excluding honeycomb core from under the drivetrain was a good idea.
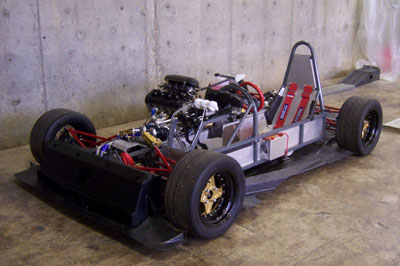
Tomorrow I will continue working on the undertray. After the mounting scheme is finalized I need to come up with 'fences' so that any spilled liquids are contained and don't go sloshing around under the driver, under the headers or both. Additional fences will attempt to route the air to/from the front brake and perhaps a better attempt will be made at containing the dust. The forecast for the 18th has improved a bit, plus there is a chance I might be able to take a couple laps on the 16th. We shall see. Lots to do before then. 10/13/06 Another full day at the shop. Started by test-mounting the floor. Some of the mounting holes still need to be tweaked. Also ordered some supplies to finish the installation. They'll be here tomorrow. Having to pay for Saturday delivery is a pain but that's what I get for not planning well enough in advance. Of course the nature of the project at this point is that I don't know what I'll need until I need it. So it goes. The existing hardware and mounting points did let me get the thing bolted up enough to check the overall fit and then do a test install of the body.
With the floor mounted, the body went on next. The fit is pretty good actually. A few things will need to be trimmed but by and large it's OK. The floor completes the styling... Now that I'm planning interchangeable bodies, the side portion of the floor should really be a part of the bodywork. Which means tweaking the molds... Doable, but not a priority right now.
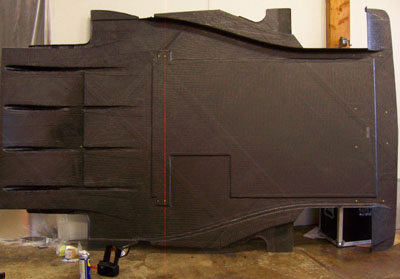
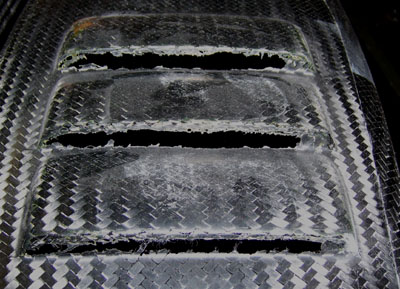
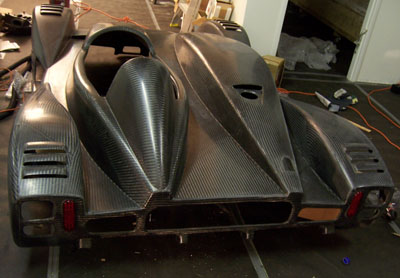
After the test-fit the body came off and I spent several hours cleaning up various details. Out of the mold there is a lot of flashing, as can be seen in the louvers below. All of it needs to be trimmed and sanded. Also I finally cut out the openings for the tail lights since I'll have to have a working brake light for the track.
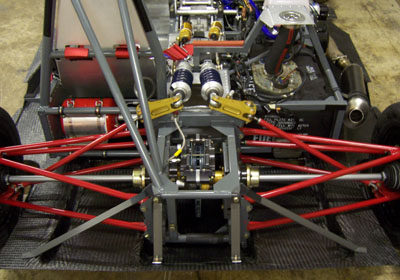
Tomorrow, more of the same. But this feels like progress and it's good to have focus in the form of a calendar event (track day in this case). I even told my clients I'll be unavailable till the 19th :). 10/14/06 Work continues. Received the supplies today so once more headed to the shop to tackle the project. Part of the issue is that I'm designing things as I go along. So quite a bit of time I'm just sitting (or standing) there staring at the thing, but all the while my in-head 3D simulator is furiously spinning things around, trying new designs, checking for clearance, scrapping them, starting from scratch. Every now and then I'd take a few steps to the side or maybe unbolt a part and move it around.... Exhaust is case in point. I mentally tried five different muffler locations/orientations, several exit pipe designs, even contemplated scrapping the muffler altogether. The fit is tight.
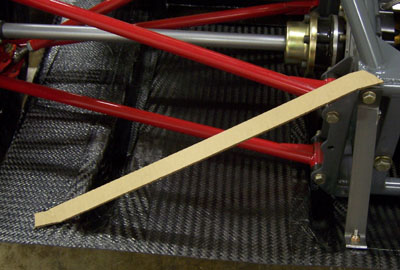
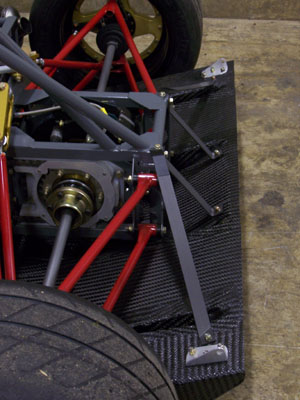
I finally settled on pretty much original spot for the muffler, cut off part of the exhaust tip so that additional pipe can be attached to it, then took measurements so I can continue the exercise in CAD. Some things are better that way - sneaking the exit pipe past the suspension and bodywork will be a feat. Other things are fine the old-fashioned way. Take diffuser supports for example. Just plain old fabrication, using cardboard for prototypes to get the bend angles right.
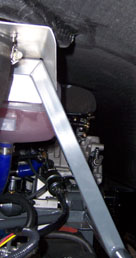
Another point of concern was whether the air filter would clear the body. It touches, but only just - this will do for now, I'll fit the proper intake manifold later. Not inclined to mess with it right now. Sticking the camera inside the body shows what's going on in there.
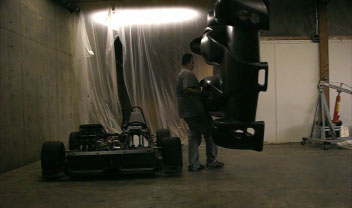
Along the way I had to put the body on and take it off a number of times so I decided to make a quick movie of how it's accomplished. Easy, as the clip shows (11M file).
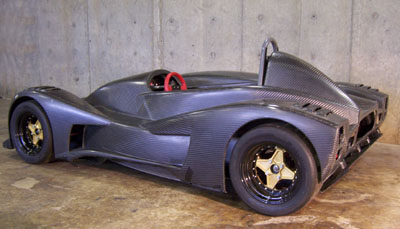
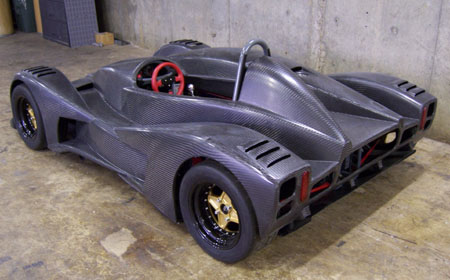
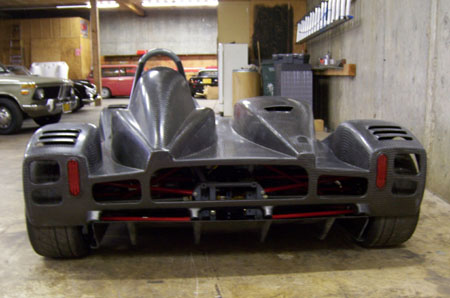
With the taillights in the overall package is looking more and more 'real' every day.
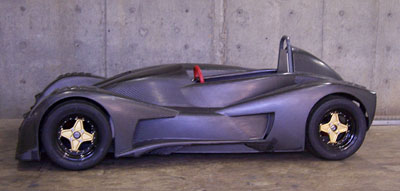
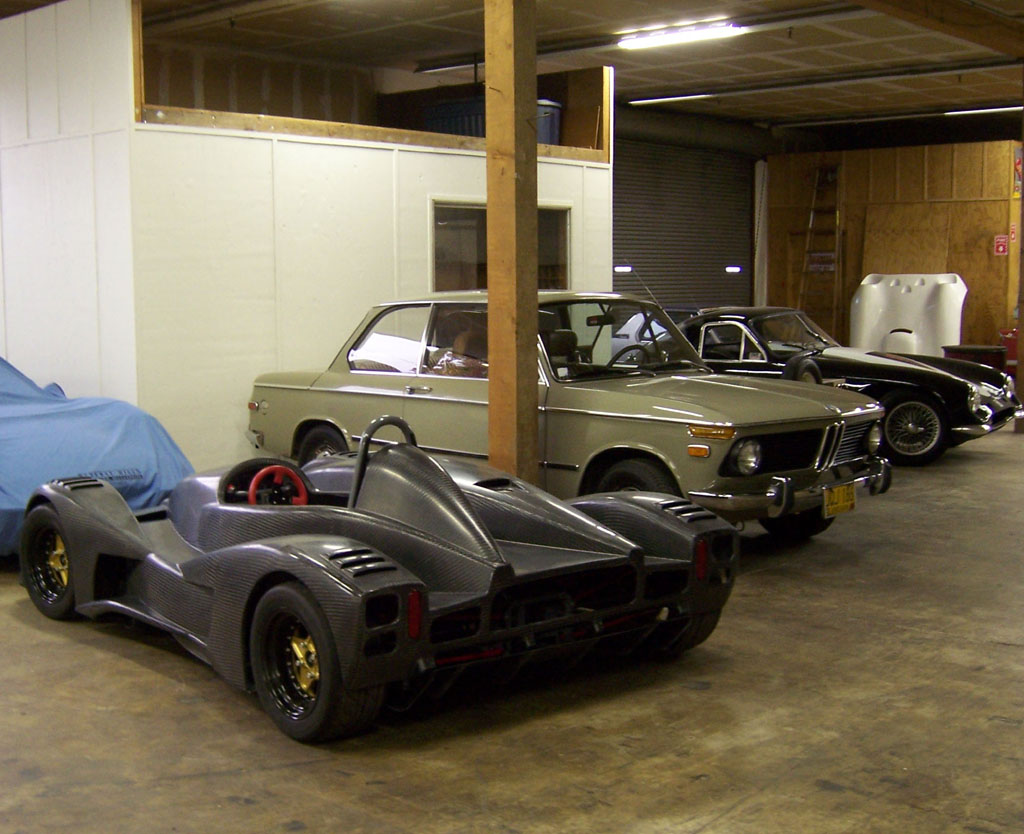
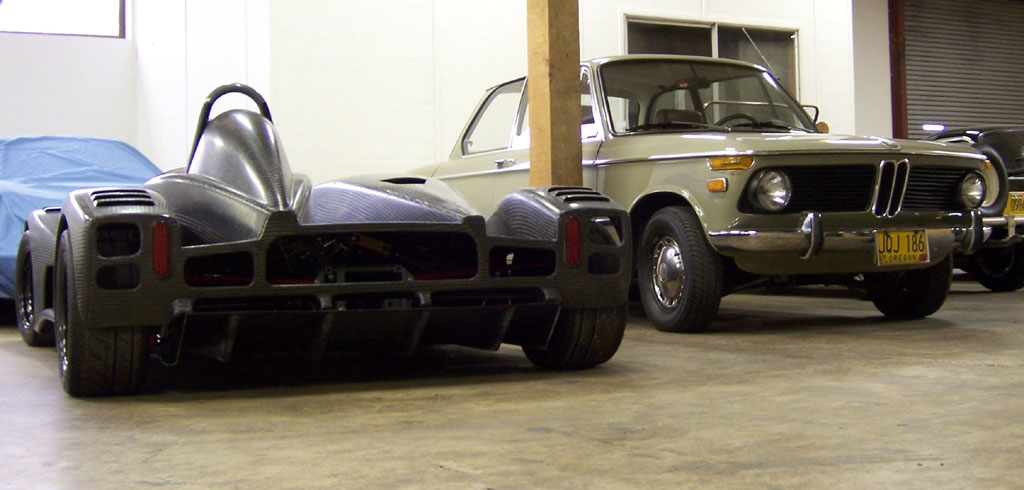
That is until you park it next to a normal car and realize just how crazy this little machine is (each picture below is clickable for larger version). Keep in mind, too, that the prototype only has 180hp, or about twice what the 2002's got (at less than half the weight). Of course the real thing will have 375 horses. Yep, I'm taking deposits. Anyone? :)
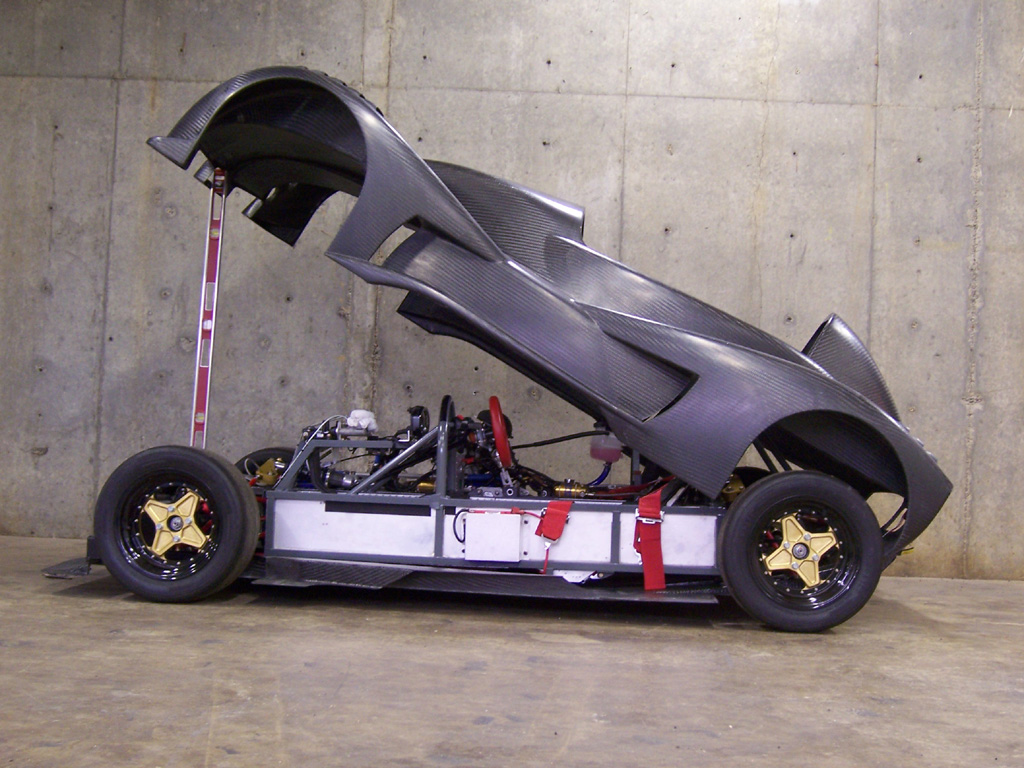
10/15/06 Another busy day, spent on bodywork and floor. All along the plan has been to have the whole body tilt up, like a funny car. I think early on I tried that without everything fitted and for some reason it didn't work so I kind of resigned to the possibility that I'll need to do something less elegant. But today, trying to figure out all the possible solutions, I recalled that I had checked the clearances in CAD and in fact had put some effort into designing drafts and features so that it would work. So now that the diffuser mounts are done I rigged up a quick test and sure enough, the body tilts just fine. So I fabricated a couple brackets...
And the rest is history. Whew. Unlike a Radical, you won't need a crew for trackdays :)
Now everything else falls into place like it was supposed to, even the exhaust will be easier (tailpipe can stick out farther now that body is not dropping vertically on it). Still a lot of work to be done and I definitely won't make the lunchtime track opening tomorrow but then the weather has been lousy anyway. So Monday I finish the floor and body and Tuesday I hopefully get the exhaust wrapped up. Ambitious but not impossible. Wish me luck! |