|
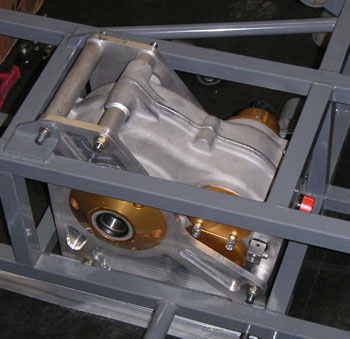
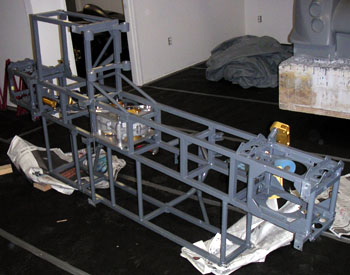
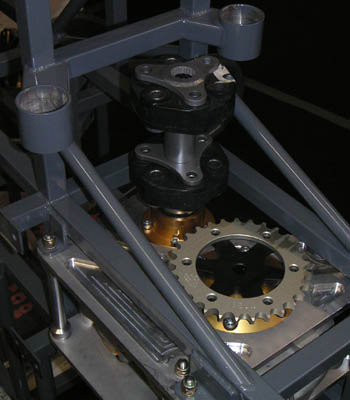
03/20/05 Got a few driveline bits done by Dave Levy of titanium cycles. He's still working on the driveshafts but since I got the center diff back I decided to install the mouniting plates and then put it in the chassis (it's a stressed member and doesn't interfere with alum skins to come later). The big design challenge with the center diff was figuring out how to deal with the chain tension loads which can be up to 4,000 lbs per side. I had extra support bearings added to the housing itself, then came up with mounting plates that are heat-shrunk onto bearing housings. So today my oven actually got used for the 3rd time since I bought the house six years ago and the plates went on like magic.
And yes, the bolts are custom made, at considerable expense. After all that, the big test. Whether or not the whole assembly would fit in the frame. Magically, it did - with 1/8" to spare. A friend asked what SolidWorks said. 1/8" to spare, of course. Gotta love CAD.
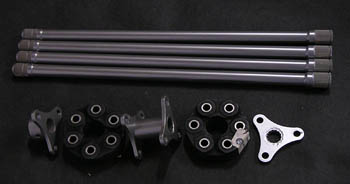
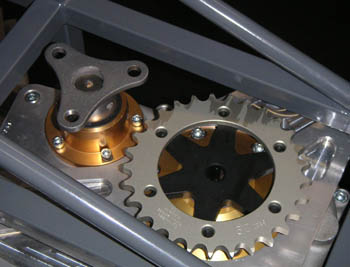
I now need to get the spacers machined down so that they clear the drain plugs, get the driveshaft finished and then get all the remaining driveline bits powdercoated. After that, steering column, then alum skins, then assembly... One of these days I might even drive it. I'll be a happy man then, no matter how it goes. On a side note, Janicki (the company that made the bodywork plugs) put a picture of the dp1 plug on their new website. Cool :) 03/25/05 Picked up a bunch of driveline bits from the powdercoaters. Decided to go with dark silver for a color on these - turned out cool. The halfshafts are now ready to be assembled to the CV joints. You can also see how the intermediate shaft between the gearbox and center diff stacks up in pictures below. The challenge there was to make sure everything clears, including bolts when they are inserted through the flanges. It does.
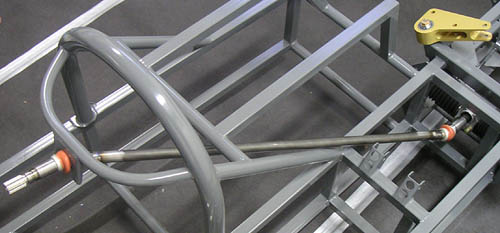
I've been dragging my feet on designing the sheetmetal (OK, been a bit busy with work too!). I'll need to get on that pretty soon because that's holding up assembly at this point. Steering column is being put together, I still need to have a few bushings and such made, but overall things are moving right along. Gotta start thinking about exhaust as well. Once I get all the major remaining bits designed and on order, I'll spend some time trimming the bodywork and getting it ready for paint. That's a couple weeks' worth of effort right there. 04/01/05 Tried fitting the newly-fabricated steering column...
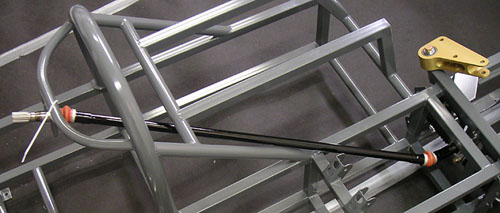
It doesn't fit. It's about 1.5" too long (thankfully it does clear the frame tubes, by about the designed-for 0.2" once length is sorted out). So I checked to make sure it was made to spec - yep, dead on. Then I took a reference measurement on the frame from column mount bracket to rack mount bracket, went home and checked the same dimension in SolidWorks. Sure enough, the frame is off by 1.5". The failing is mine though - Phil didn't have the tools to bend the support tube radii as specified, so I told him to just use a larger radius because that area is not critical. So he built the closest thing to what I asked for. What I should have done is gone back and measured what was actually built and updated the CAD model. Oh well. This is easy enough to fix, just a pain, that's all. And a reminder to keep track of changes a bit better. So far this has been an isolated incident. Let's hope it stays that way. Funny, I just remembered that the Westfield kit was initially shipped to me with a steering column that was too long and even their replacement part still didn't fit right and required a lot of fiddling. So I guess I'm not alone in this. Or maybe it's the opposite and there's some kind of Karmic misalignment with me and steering columns? 04/06/05 Took care of a number of things. First, I fit the modified steering column - it works now. Cool. The support bearing is being made, when that's done I'll test-fit the steering wheel too.
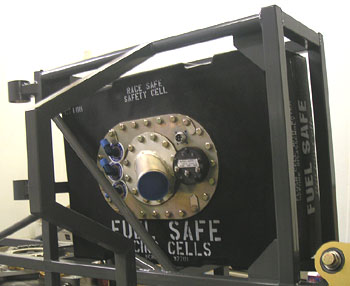
Another thing I did is spend some time configuring the fuel cell so that all the inlets/outlets/etc clear the frame. Also visualized the actual mounting hardware that'll be needed so now I can go get that made. Should be pretty straightforward.
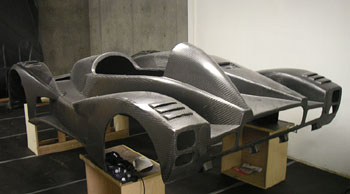
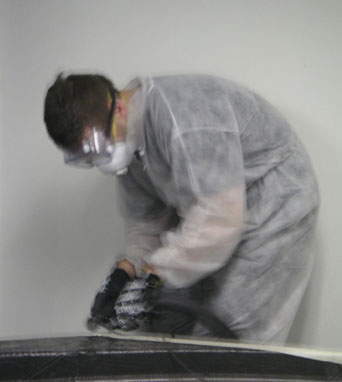
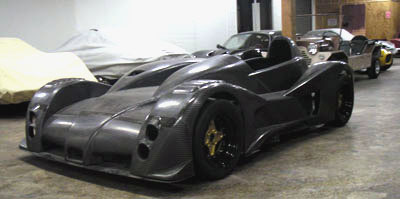
Then I spent quite a bit of time trimming the bodywork with a Dremel and a heavy duty cutoff wheel. It's actually pretty easy to do. I held a shopvac hose in the other hand to limit the mess, and of course wore a respirator mask and goggles. Good thing on both since the mask ended up nearly black on the outside and a broken cutoff wheel bounced off the goggles once. Once done with the rough trimming I test-fit the lights, just to see what the car would look like with them in place.
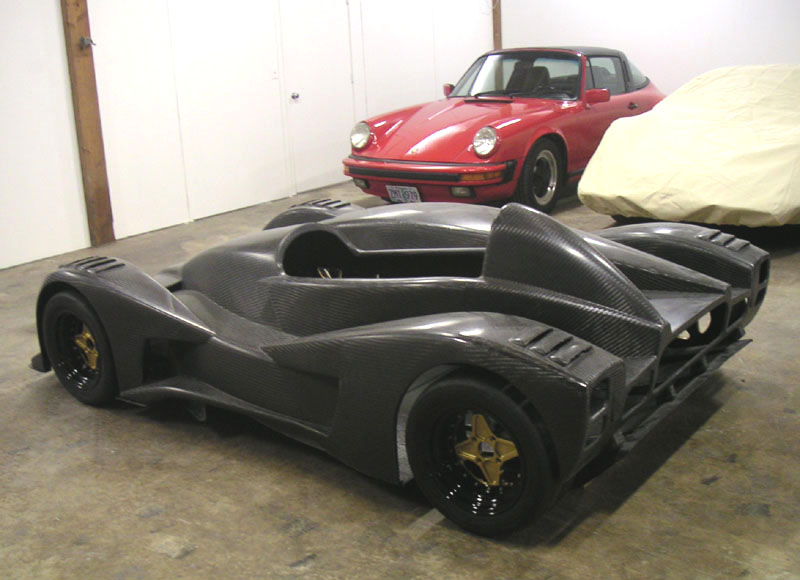
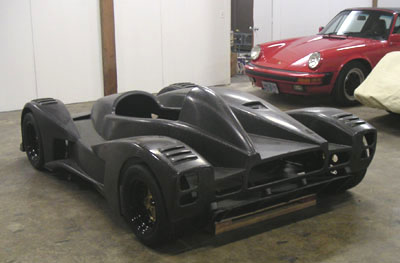
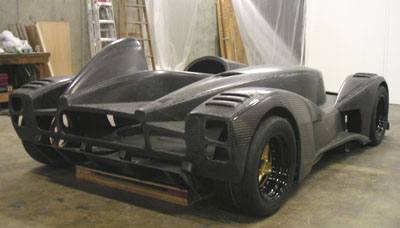
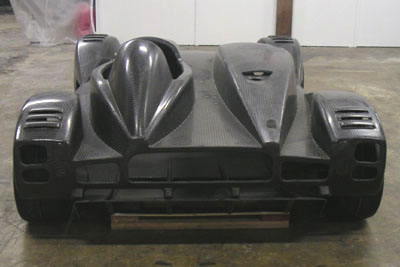
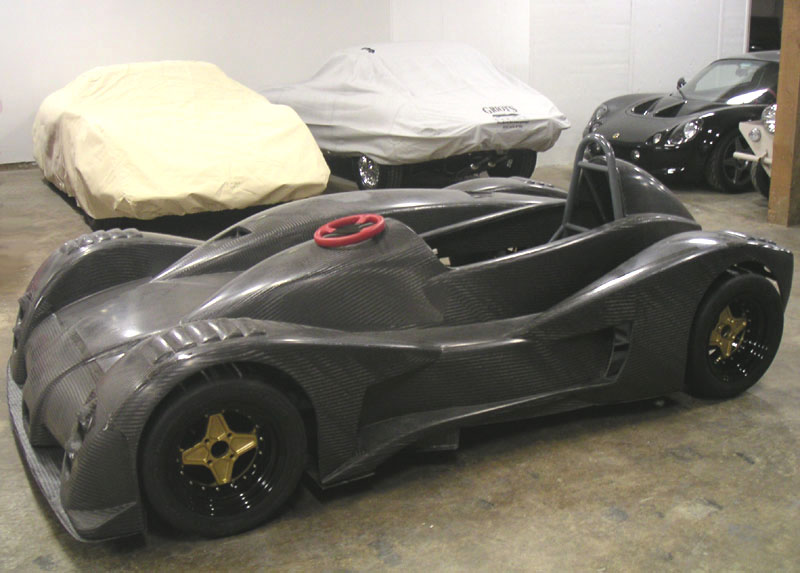
Much work remains of course but progress is tangible. Sometime soon I'll need to test-fit the bodywork to the floor and the whole thing to the frame. Then I can finalise the mounting hardware, crush structures and such. I might actually go get the floor mold from scappoose for this to ensure alignment. 04/06/05 - part 2 After going home and snacking on some Balance bars for dinner I couldn't get the car out of my head so at 8pm I called up my friend David and asked him to meet me at the shop. The task was to construct a simple jig on which the floor can sit at the proper ride height, then test-fit the body, the floor and the frame. First were body and floor, the latter requiring some trimming (a few of the pictures below are clickable for larger version and no the cars in the background are not mine although one of them used to be)...
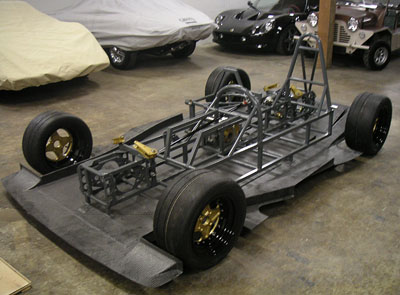
After that, the frame was set in place on the floor - so far so good...
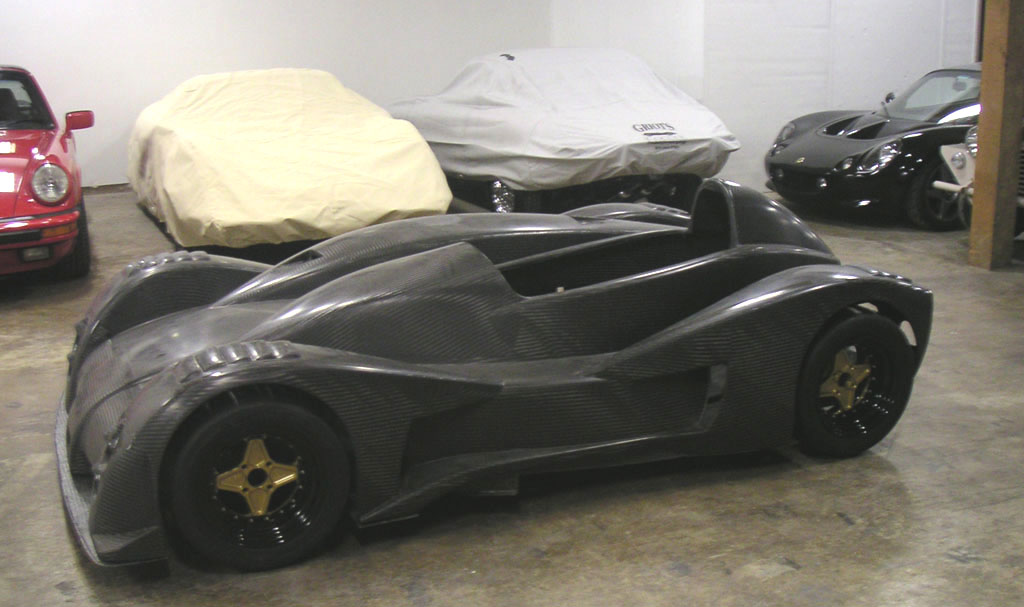
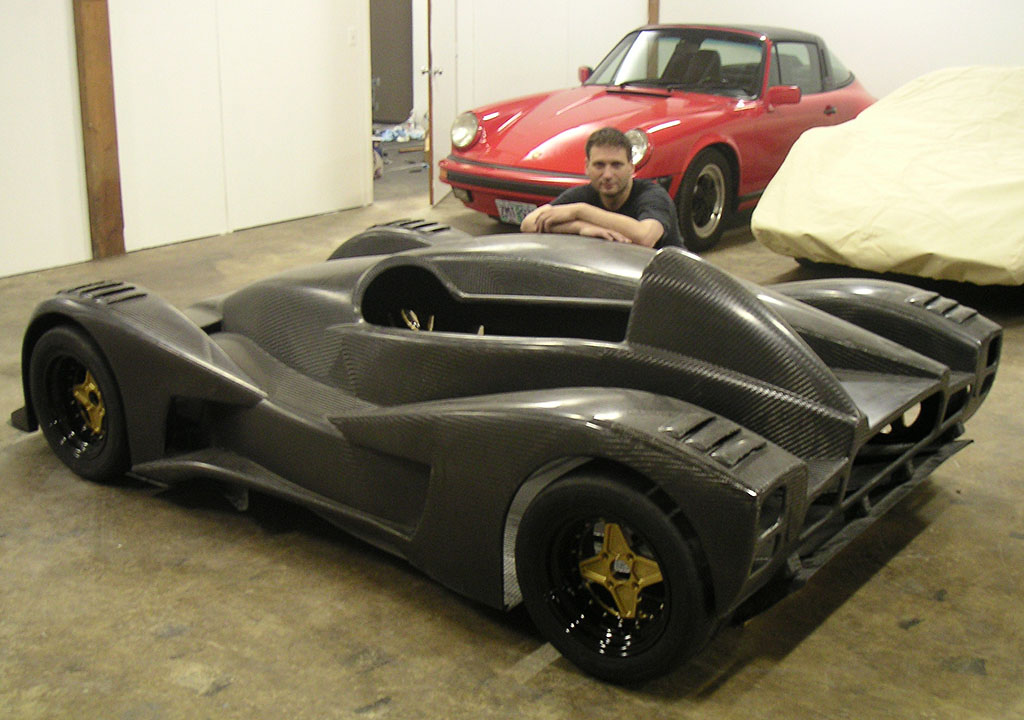
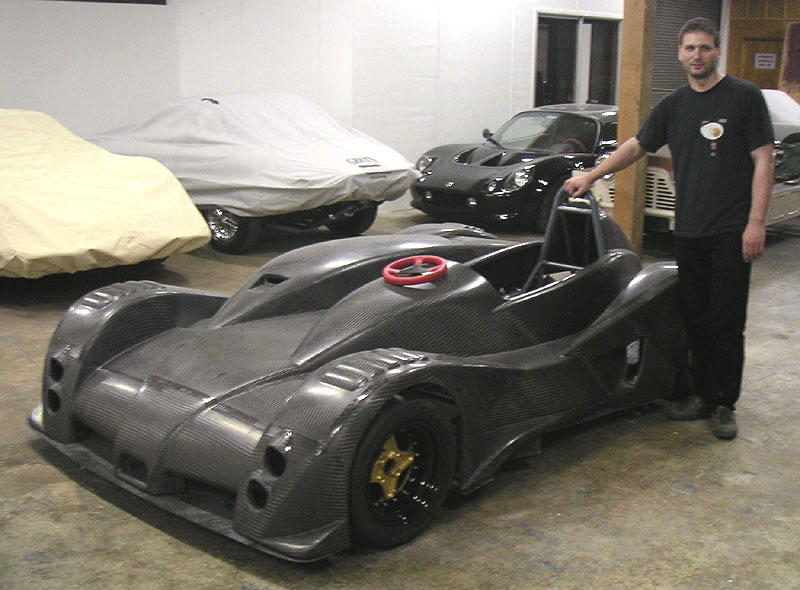
Then, finally, the whole thing went together - and it even fit! This almost looks like a complete car.
Now, back to the task of designing the aluminum chassis panels. I've been procrastinating on that bit because frankly it isn't that much fun. But it's holding up everything else at this point so I better get to work on it. Overall, much progress today. |